Cooler temperatures mean that our grass is growing at a slower rate. We have been continuing to water in our grass because we planted almost 15 acres of seed and we want it to be well established in the spring. Our outside crew has less grass to mow, so they have some time available to knock off a few projects before the snow flies.
In this post, I explained how they cut arches for the pergola that is going in on our new peninsula where our new ceremony site will be located. The peninsula is located near the practice green and is closer to the parking lot than our previous ceremony spot, so that will be more convenient for wedding guests. As we looked at the spot, we realized that it would also be a fun spot to have romantic getaway dinners. The scenery is so beautiful, so we decided to upgrade our arch to be a full sized pergola that is ten by ten foot square.
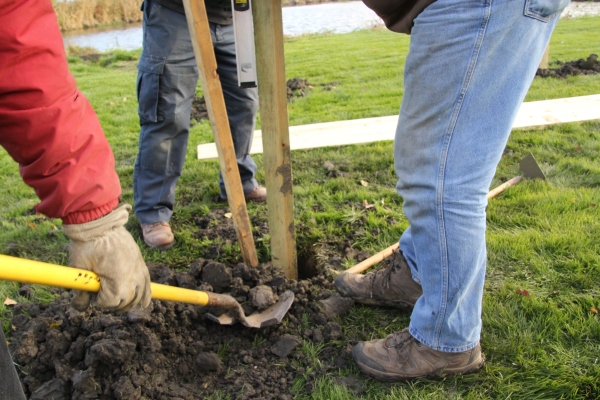
Earlier in the week, the crew dug out holes and put in the posts. 
They had to secure these posts with cement because this is going to be a pretty heavy and large structure.
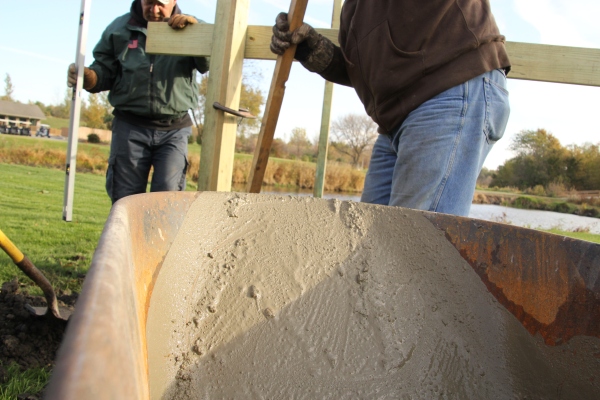
Once they dumped in the concrete, they back filled with the dirt around the post.
Of all of the things that I enjoy about the golf course, I think it is all of the friendships that have formed over the years that charm me most. Up until several years ago, none of these men even knew one another. Now, they play golf together every day and enjoy one another’s company.

Once all of these posts were set, they waited several days before making big plans to build the top of the structure. They day before the scheduled building of the top of the pergola, the lunch conversations were buzzing.
“Can you do this tomorrow?”
“Nope. We’re putting the top on the pergola tomorrow.”
“What time should we come in tomorrow?”
“We’re building the pergola! We need an earlier start!”
There was no denying it. The top of the pergola was going to get built! They had put in a lower set of boards to keep the structure square. They also served as a resting spot to get the top built.

All of the cross arches were lined up and tacked into place, so they could easily install the the smaller boards that served as decoration and keep them all in place.

It’s always fun to watch a small stack of lumber come to life!

Our jacks of several trades were laughing and joking with one another. They had also peaked the interest of several of our golfers! What in the world did we have up our sleeves??
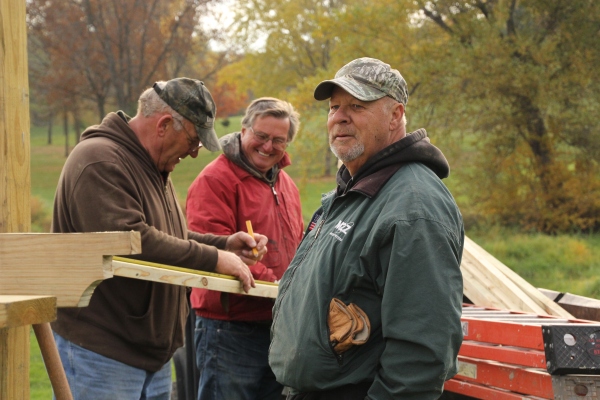 Once most of the 2×2 cross beams were installed, they tilted the entire top section to finish the last few cross beams.
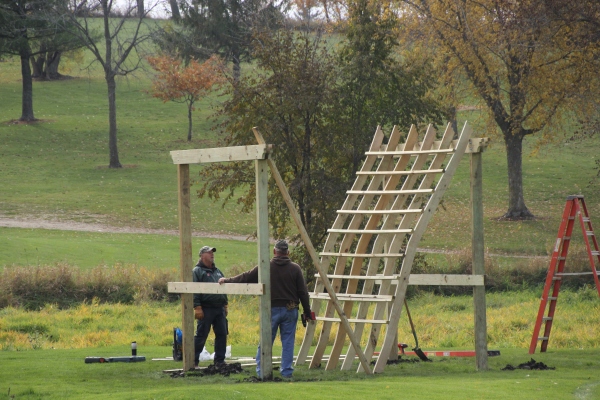
That’s a good picture to give you some perspective of the size of the pergola. It isn’t easy to work with something that is quite a bit taller than you are! Even if you do have big farmer hands! Doug’s hands remind me of my grandpa’s hands. They are very large and strong.
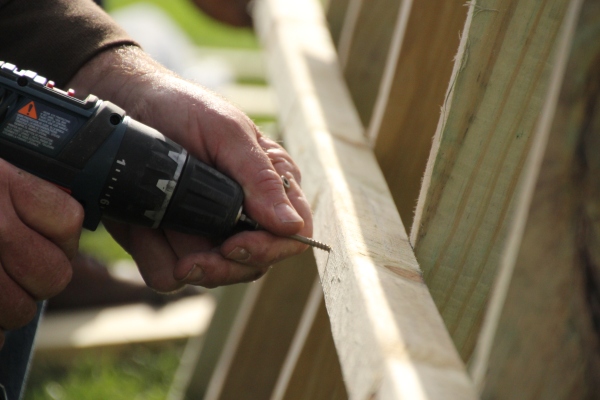
Working their way down to the bottom of the structure, they continued to install their cross beams until they reached the bottom.
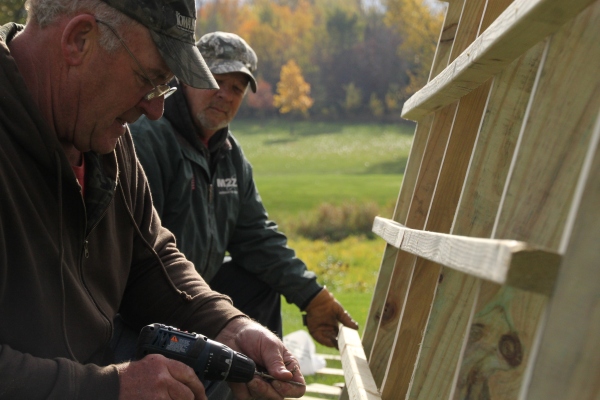
They worked on getting the final pieces installed and were busily brainstorming ideas on just how they were going to get this to the top of the structure. Several curious golfers had to drive right up to them to see just what was going on and to offer advice and support.

Once they hit the bottom portion and finished the top of the pergola, it was time for lunch. They had decided that they needed to give a little thought as to how they would be able to mount this to the top support bars. Steve conveniently arrived just as they were done with the project. He has impeccable timing!

While eating, Dick had an epiphany! They were going to have themselves a good old fashioned barn raising!

After securing one side to the top, they created a pulley system to raise the whole structure up! It reminded me of something my dad has always taught me. Leverage is king. It’s funny all of those little quirky things that you pick up on from your parents over the years. I can just picturing my dad showing me how to change a tire. I couldn’t get a bolt loose, so he grabbed a longer tool and told me that leverage was king. As an adult, I just smile sweetly at my husband and he takes care of it for me. Leverage is king!

You can see a golfer’s cart there in the bottom corner. He had come come over to see just what we were up to! The clubhouse was filled with questioning golfers. What in the world are they building out there?
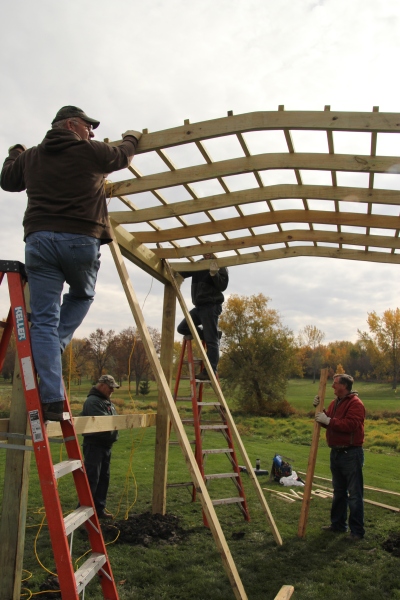
The guys were all busy giving Dick some kudos for his wise thinking because it ended up being a fairly easy task to complete. They were clearly wondering about it up until lunch time. Never let them see you sweat! That’s the goal!

When they removed the support beams and walked away from the project, they approached me before heading out to golf. “Get your camera! The pergola is complete!” Ain’t she a beaut?

Let’s re-visit our to do list from this post:
build pergolatransplant trees along the cart path that leads across the pondpull weeds along the bank- landscape around the newly planted trees
- bring in additional compost to fill in the low spots of the trenched areas
install bigger irrigation head to get water farther across the peninsula- bring in woodchips for landscaped area
- plant native grasses in pond banks
- finish connecting speaker system
- finish connecting to electricity
We plan to paint the pergola white, but since this was created with treated lumber, we have to wait until spring to paint it. There has been some discussion about putting a chandelier in the center of it. We’ll see where we end up!
Anyone ready to tie the knot? We are inching closer to the goal!