When I was a kid, I loved the time of year when we aerated greens. The entire crew would come together and it felt like every piece of equipment we owned had a duty for the day. There was excitement in the air. Mom always made a special meal for the outside crew and there were lots of nods from fellow workers as they passed one another in their duties. It was always a huge family affair. To me, it always felt like harvest time. Of course, I had no idea why the golf course aerated because I was a kid. I just loved to play in the massive sand piles with my cousins and then as the sand piles became smaller, it was also fun to play in the grass plugs. They kind of looked like cat turds to us as kids. I guess it was fun to pretend we were playing in a huge piles of cat turds? You could say I was a strange child.
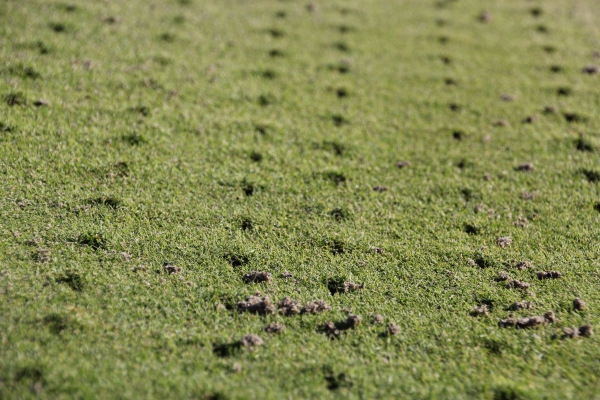
About three weeks ago, we aerated our greens on the golf course. Times are a little different from when I was a kid. We like to aerate earlier in the year than we did previously. This is for several reasons. The most important one being that the greens heal incredibly fast. If you were to walk on our greens today, you’d never be able to tell they were aerated three weeks ago. This is because the ground temperatures are very high which stimulates root growth and the holes fill in fast. It is very important to aerate greens because it helps to alleviate compaction. Our greens are mowed every single day and they are walked on by hundreds of golfers every day. All of that weight can take its toll on the greens. Ideally, we like to aerate twice a year. Once in the spring and once in the fall. This spring we were very dry, so we decided to forgo it and wait for the fall instead.
During the state fair week, we are usually pretty slow. That’s why we took advantage of it and aerated on the Wednesday of fair week. Before we can begin, we have to mark all of the irrigation heads with flags and remove all of the cups and flags from the greens.

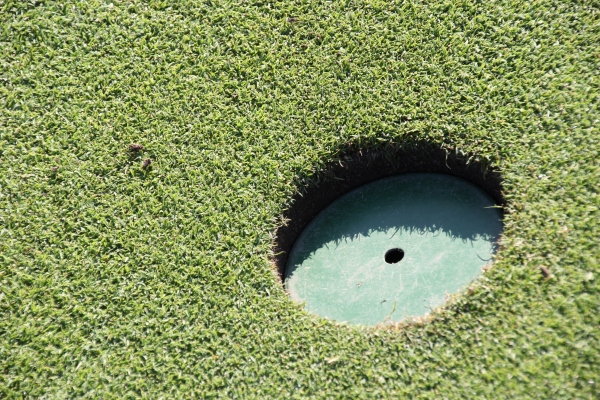
Once that job is complete, we fill the cups with a special plastic piece that helps to cap off the hole. This prevents the aerator from damaging the hole, plus it protects it from getting completely filled with sand.

The next stage in the process involves Doug.

Doug runs the big tractor with the top dresser attached to it. The top dresser is filled with a special sand mix. This sand is aptly called top dressing sand. Clever, huh? It is evenly mixed with similar sized grain particles. I’m sure you can just guess how much fun this was to play in as a child. Putting sand on the greens helps them to keep a true putt.
 This machine is pretty impressive to watch in action. Each green takes one full load of sand, so there is a lot of traveling for Doug who has to fill it back up after every green.

Here is a little clip of it spreading the sand. It’s leaves a nice even layer on the green. There are sharp metal blades on the inside that help to send the sand through the shoot and out through the opening that spreads out the sand. I won’t mention any names, but one member of my family almost lost his finger when he tried to unclog the top dresser while it was still moving.
[wpvideo JYc2QGwm]
Once the sand has been spread, it is time for the green to be aerated.

There are two different methods of aerating. One method involves pulling out grass plugs. The other method is called deep tine aerating. Both are valuable. As a rule, we deep tine in the spring and pull plugs in the fall. With the crazy whether we have been having, we decided to deep tine this fall. It is important to pull plugs because you can fill the plugs with sand and it allows for more expansion. Deep tine aeration stimulates root growth. The tines go down 8 to 10 inches into the soil and the roots love the extra oxygen and spread out. You can see in this picture, the tines are solid, so they are essentially punching a large hole in the green’s surface.

This piece of equipment has many moving parts.

Once the holes have been punched in the ground, the aerator has rollers attached to it to smooth things out.

Here is a clip of the aerator in action. It’d definitely make a fun piece of equipment to play truth or dare. I dare you to put your hand between the moving tines. I wonder if mass amounts of blood on the green would be as beneficial as the sand.
[wpvideo JtmKXkMY]
Once the aerator has passed over, you’re left with a green that is completely filled with holes.

As you can see, much of the sand is still on top of the green and must be brushed into the holes. That’s where our outside crew comes in to save the day! Here’s Dick, who is our first pass through with a coarse brush.

Dick drives around in circles on the green brushing the sand into the holes. To prevent himself from getting too sick, he alternates going clockwise on one green and then counter clockwise on the next. What can I say? He wouldn’t make a very good race car driver.

This little piece of equipment is cleverly called a drag brush. Aren’t these people good with their name choices? They definitely wouldn’t want to get a job naming paint colors. They’d probably name the paint something like brown, light brown, and lighter brown.

Luckily is was a beautiful morning, so you can’t really help but to have fun while you’re working.

Once Dick was done with a green, Steve showed up with a finely bristled brush. On this particular day, Steve was officially named Steve McGuyver. To get the brush to do its job, it requires a sand bag as added weight. Our sand bag sprung a leak, so Steve made a new one.

In this shot, you can really see the difference between the coarse brush’s pass through vs. the fine brush. Steve’s efforts really clean up the green nicely and brush in most, if not all, of the sand into the holes.

Here’s the finished product.

The next step is to put the cup and pin back in the hole. The cup cover does pretty good job, but a bucket is still required to pull out any additional sand that is left in the hole.

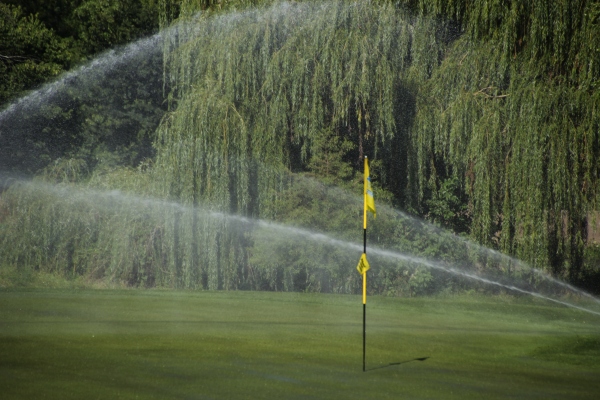
Once the cup is back in its place, the greens are watered. The water helps all the leftover sand that is on the surface of the green to seep its way into the ground.

Our final step of the day was to mow the greens. Right after we aerate, we put a different set of reels on our greens mower because the sand is very gritty and isn’t very good on our blades. I was gone for the day and didn’t get a picture of them mowing the greens. Just imagine them having fun on the mower because they are finally done with the job. We aerated all eighteen of our greens in one day. It took our whole outside about 9 hours to get it all done. They work together like peas and carrots. Once five days had passed, no one was the wiser that we had aerated. As of today, our greens look amazing!
How about you? Do you plan to aerate your lawn this fall? Did you like to play in dirt plugs as a child because they looked like cat turds?
Join our Birthday Club to receive free golf! Boo yah!