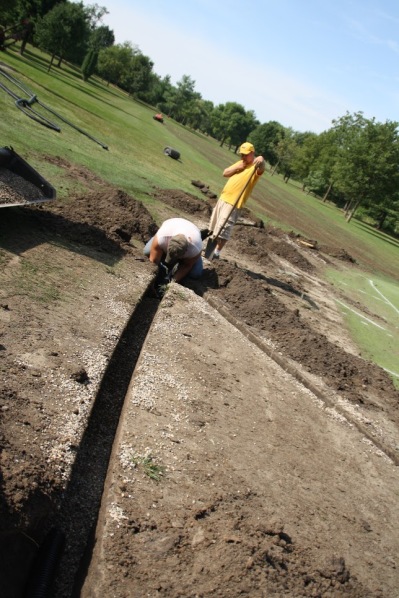
In 2011, we had a major overhaul to number two green. It was in some serious need of drainage. The east side of the green had all but died because of all the heavy rain we had in 2010 and the first part of 2011. We basically dug up the east side of the green and put in a new drainage system. In order to make the green be playable in the fastest amount of time, we used bentgrass sod from our nursery green and laid that sod on the green after all the damage had been repaired.

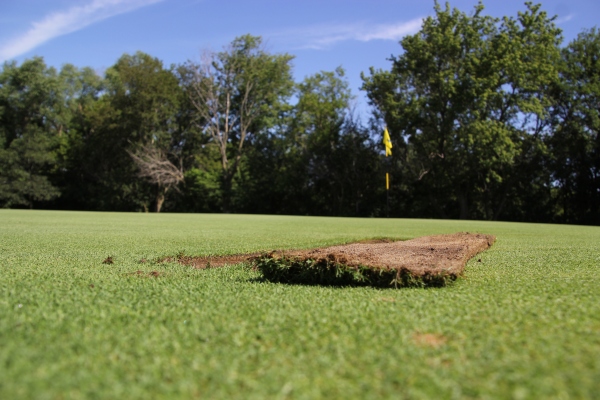
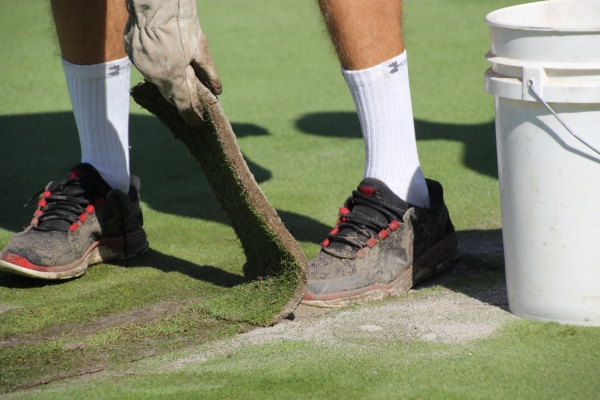
After two years, we had some settling on number two green where the sod had been laid which had caused a couple of bumpy low spots in the green. Ron decided to purchase a slick tool that would allow us to cut a small section of grass up and fill in underneath the layer of sod with some sand to help balance out the green. It has several different blade attachments to it which will come in handy to do some other repair work without causing too much damage to the ground.

It’s a pretty easy tool to use. Here is Jordan demonstrating how fun work can be!

The sod was placed next to the hole.

Once the section is cut, the boys got to work filling in with sand.

They continued to fill in the sand and lightly tap it down, so they could see if it was level.

Determining if it is level is highly scientific. Ron got down on the ground to take a look.

Once everything seemed level to the naked eye, they poured a light mixture of sand on top of the sod and brushed it in with a broom. This will help it repair moving forward.

How about you? Do you remembering playing on this hole in 2011 when half of it was dead? So glad the drainage that we put in seems to have been working well.